Open Garage and start
Go to the Garage tab. If you have not added anything yet, Garage greets you with a short empty state and a single button to add your first vehicle.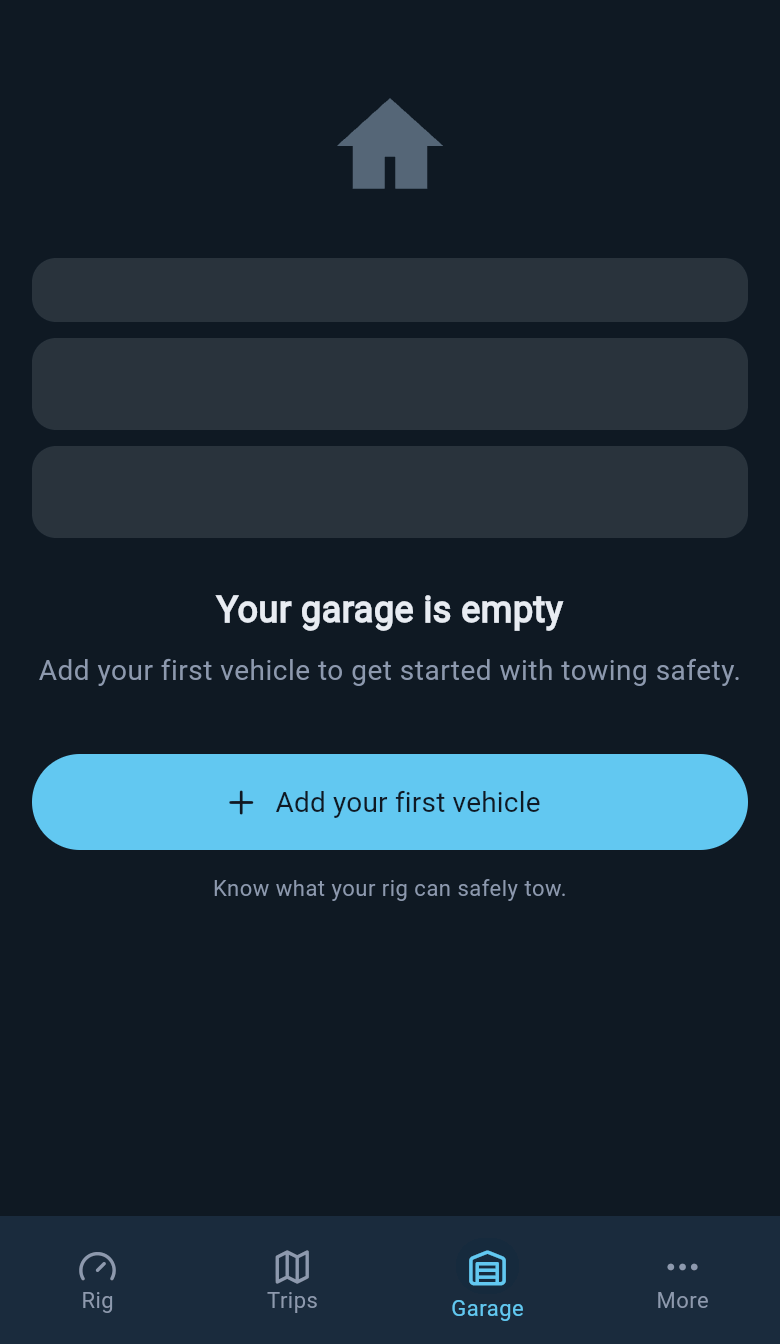
Name the vehicle
The first screen asks only for enough to identify the vehicle. You can type a nickname, or fill in the make and model. Either one on its own is enough to create the record, so you are never forced to fill in both.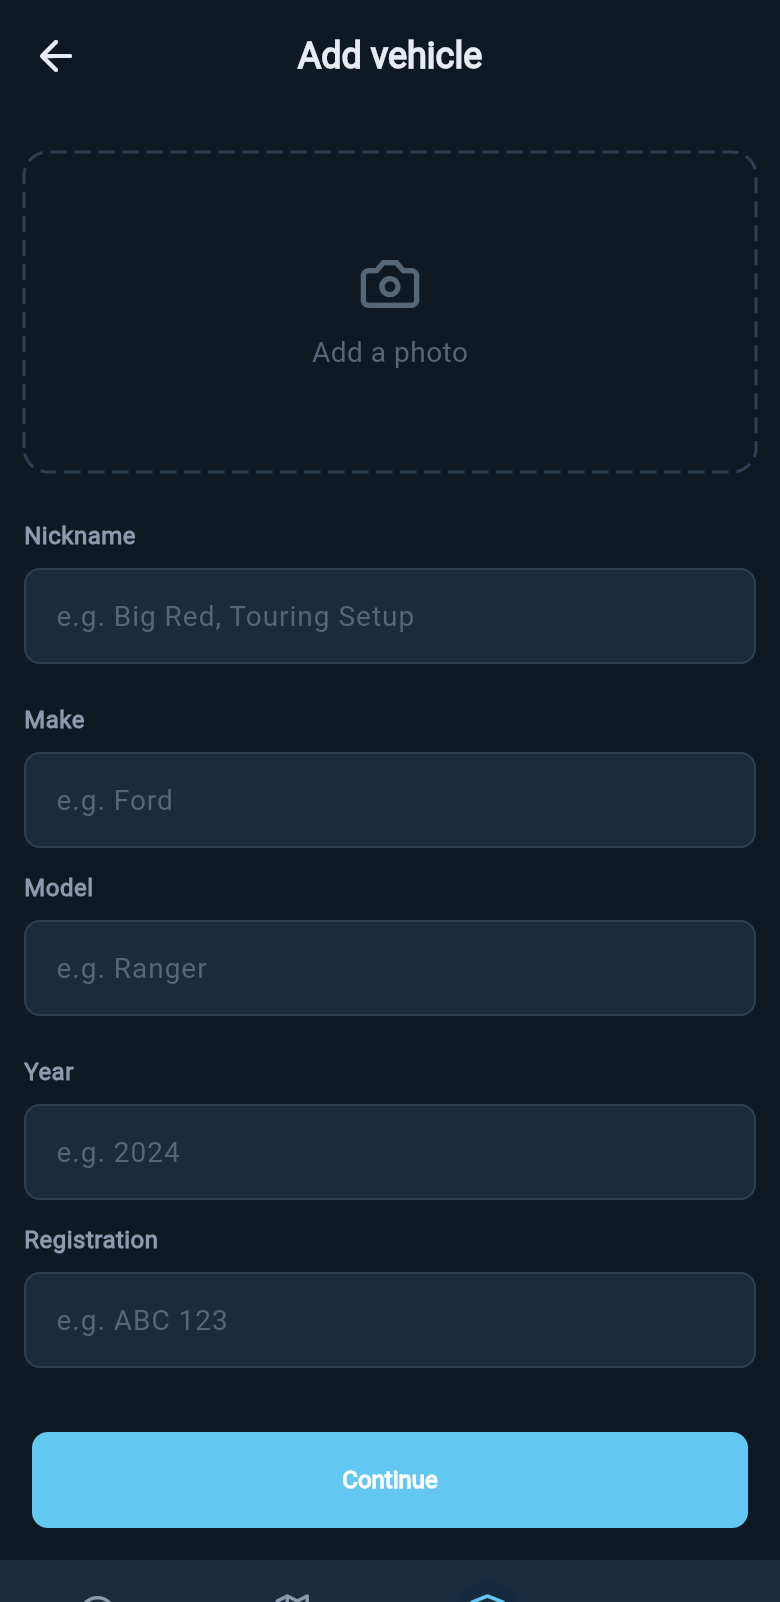
Looking around in demo mode is free. Saving a real vehicle of your own is a Pro feature, so when you tap Continue on your own rig loadmate asks you to upgrade first. Your typed details stay on the form while you do.
What happens after you save
Once the vehicle is saved, loadmate confirms it and offers a short list of recommended next steps. Pick the one that matches whatever you have handy right now.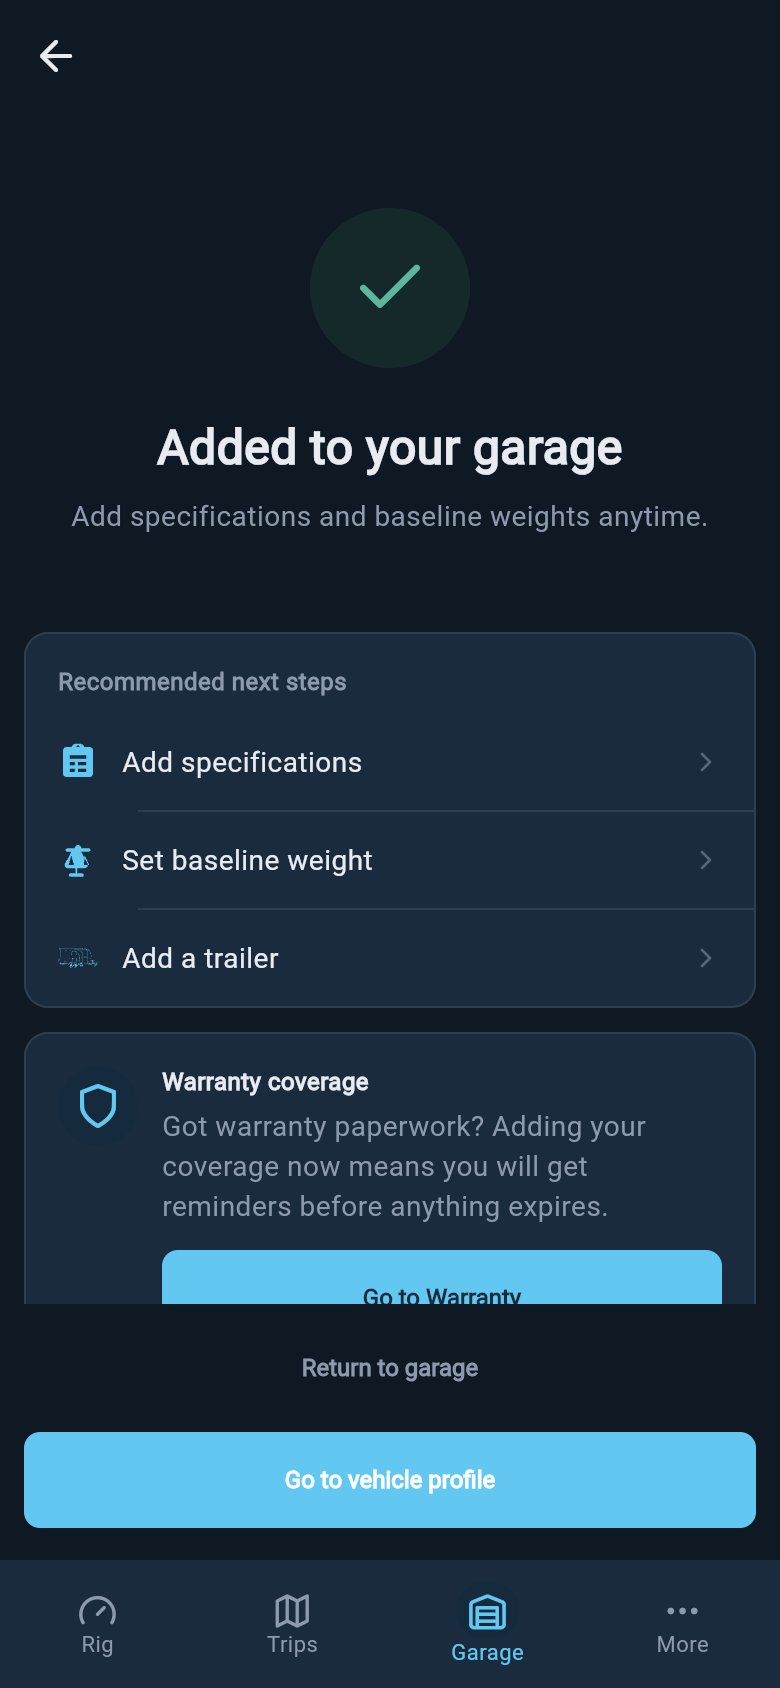
- Add specifications — choose this if you have the vehicle plate or manual with the legal numbers on it.
- Set baseline weight — choose this if you have the factory kerb weight or a weighbridge result.
- Add a trailer — jump straight to adding the other half of the rig.
- Go to vehicle profile — collect your documents first and come back later.

- Add specifications — the legal limit numbers printed on your vehicle plate, manual, or towbar.
- Add baseline weight — the empty weight loadmate starts from before passengers, cargo, and trailer load.
- Configure storage locations — the places on the vehicle where you usually carry gear.
The score and compliance checks stay quiet until the specifications and baseline weight are in. That is expected, not a fault. The checklist is simply telling you which inputs are still missing.
Add the legal limits
Specifications are the legal numbers loadmate checks your rig against. Enter them from a trusted source: the compliance plate, owner’s manual, VIN plate, towbar or receiver label, or tyre placard, depending on which one names the figure. A help banner at the top of the form reminds you where to look.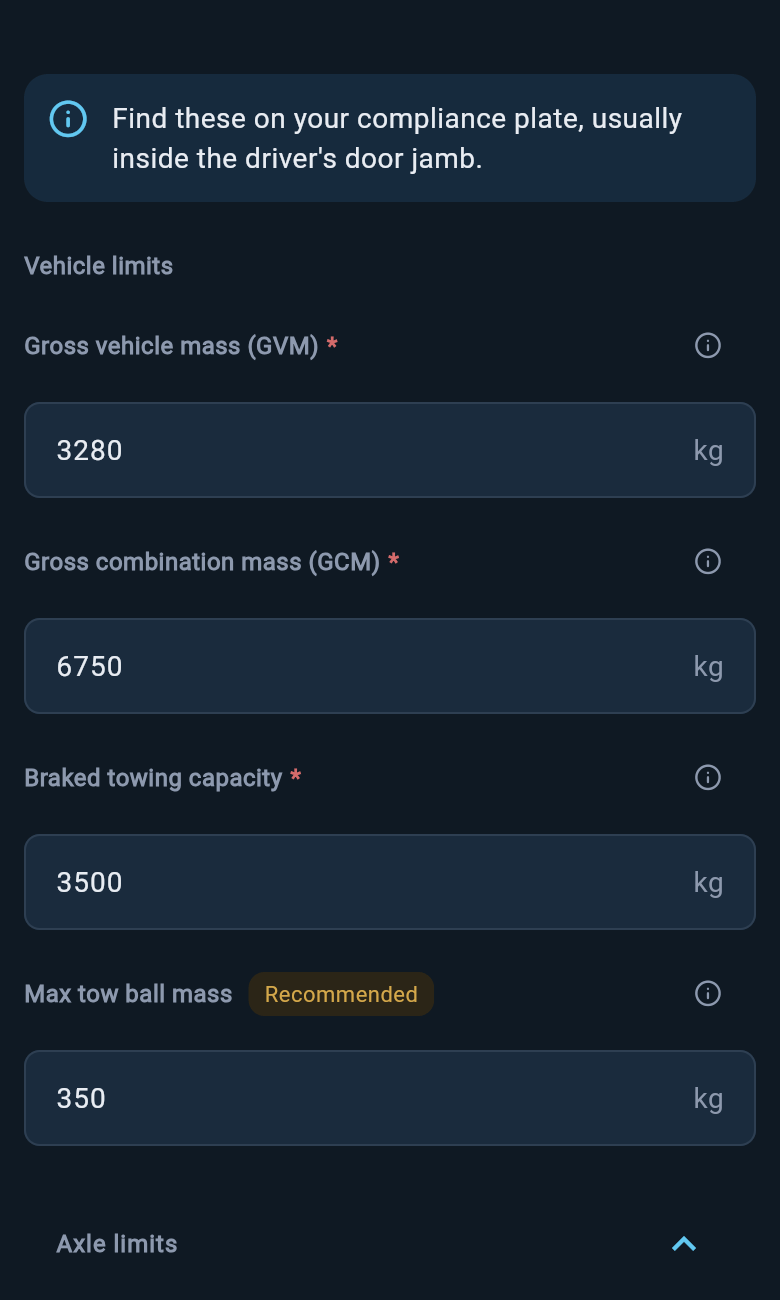
- Loaded vehicle limit — GVM in Australia, MAM in the UK, or GVWR in the US and Europe/international. The heaviest the vehicle is allowed to be, fully loaded.
- Combined limit — GCM in Australia, GTW in the UK, or GCWR in the US and Europe/international. The heaviest the vehicle and trailer are allowed to be together.
- Braked towing capacity — the heaviest trailer the vehicle may tow when the trailer has its own brakes.
- Maximum coupling limit — the most weight that may press down through the tow ball, nose, or tongue. loadmate marks this Recommended, because it is the limit a heavy front-of-van load is most likely to breach.
- Front and rear axle limits — tucked inside a collapsible Axle limits section. A vehicle can sit under its total loaded limit and still overload one axle, especially once passengers, rear cargo, and tow-ball load pile onto the back. Enter these when your plate lists them.
| Field | Where to find it | Do not enter |
|---|---|---|
| Loaded vehicle limit | Vehicle compliance plate, VIN plate, door label, or manual | Trailer ATM, MTPLM, GTWR, trailer GVWR, or brochure payload |
| Combined limit | Vehicle plate or manual | The vehicle-only loaded limit |
| Braked towing capacity | Vehicle manual or towing section | The trailer’s empty weight |
| Maximum coupling limit | Towbar, hitch, receiver, or vehicle towing section | The whole trailer’s weight |
| Front and rear axle limits | Vehicle plate, axle label, or manual | A guessed split of the total |
Set the starting weight
Your starting weight — the app calls it the baseline weight — is the empty weight of the vehicle, before any passengers, cargo, accessories, or trailer load. This is the figure every later calculation builds on. If loadmate does not know what the vehicle weighed empty, it cannot tell you what room is left for everything you pack. You can enter it two ways, chosen with a Factory / Weighed toggle at the top of the form.Factory mode
Use Factory when you are working from the maker’s published figure — the kerb, curb, tare, or unladen weight from the plate or brochure.
Weighed mode
Use Weighed when you have a real measurement from a weighbridge or a professional mobile weighing service. A measured weight beats a published one, because it reflects your actual vehicle with its bull bar, drawers, and roof rack already on it.
A tow-ball or ball-weight reading is not the same thing as the starting weight. It only tells you the load pressing down through the coupling. Use Record a weigh-in for measured vehicle weights, and Update tow-ball weight for the coupling figure.
Finish the rig
With the limits and starting weight in, two jobs remain. Set up your storage zones so loadmate knows where each load sits, and add tyre details from the Health area so tyre age, pressure, and load guidance can run. Then add the trailer — it is the other half of every weight check.Add a trailer or caravan
Add the van you tow, with its own limits and weights, so loadmate can check the full rig.
Set up storage zones
Tell loadmate where you carry gear, so load placement and axle checks work properly.
Edit your vehicle ratings
A field-by-field guide to every legal limit and where to find it on your vehicle.
Inside a vehicle profile
Tour the Overview and Health tabs, and learn what each section of a profile does.
loadmate works from the numbers you enter. Keep your source documents handy, and use a weighbridge, truck scale, or local authority when you need official evidence.