The headline band
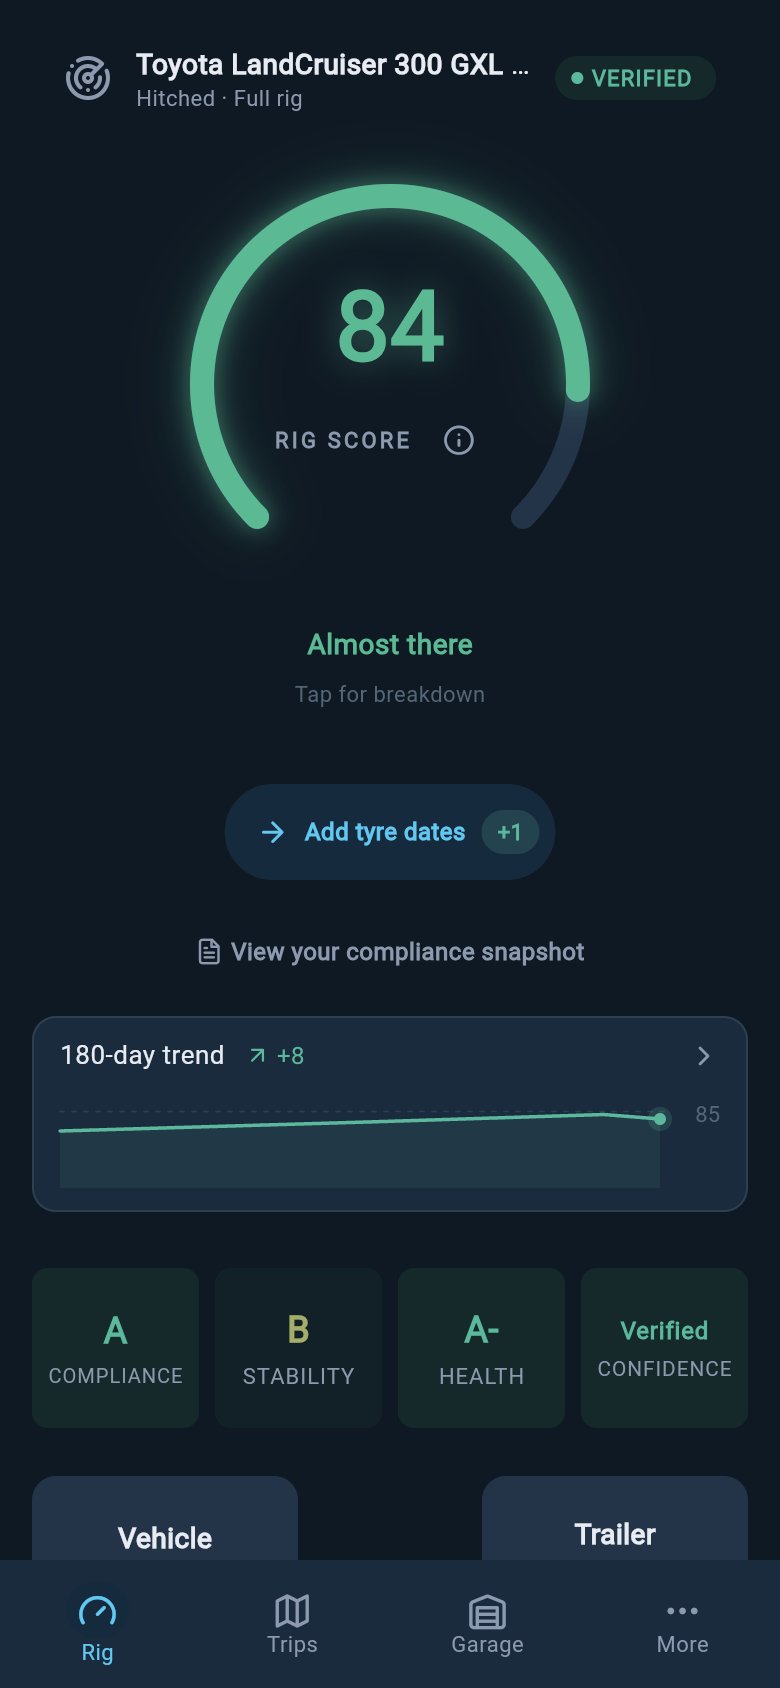
The band is the headline. It is the signal you check before you hitch up: one colour and one number that say how the whole rig is sitting right now, loaded the way it is loaded today. It refreshes itself against any change you have made since you last looked, so what you see is current. The colour does the fast work, no maths needed:- Green means good. Your rig is reading well across the board, and you have not flagged anything that needs a second look before you go.
- Amber means caution. Nothing here is alarming, but it is worth a look before you set off. Amber also covers the encouraging case where your rig is genuinely close and a weigh-in or a missing detail is all that stands between you and green.
- Red means attention. Something needs sorting before you tow, whether the handling itself reads poorly or a limit is being pushed.
The band reads your active rig. If you switch which vehicle or trailer is active, the band re-reads for the rig you switched to.
The four grade cells
Under the band sits the grade strip: four cells that break the one headline into its parts, so you never have to guess which area is pulling the score down. Each cell shows a letter grade, and you read it the way you would read a report card — A is strong, lower letters mean there is room to improve. You do not need to know how the areas are weighed against each other to use it.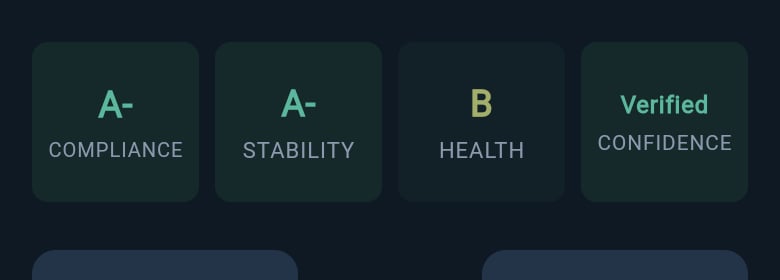
- Compliance — your weight and plate-limit checks. This is the legal floor of the rig: it watches the room you have left under each rated limit. Less room means harder braking and more strain on every climb, so this is the cell to keep healthy first.
- Stability — how the rig handles once it is moving. Good handling comes down to where the weight sits. Too little weight pressing down on the tow ball, for instance, lets a tail-heavy van start to wag the car and build into a sway; too much lifts the front and dulls the steering. This cell reads how close you are to that sweet spot.
- Health — service timing and tyre condition. Overdue brakes, bearings and ageing tyres are exactly the parts that fail under towing strain, so this cell keeps an eye on the things that age whether you drive or not.
- Confidence — how complete and trustworthy your data is. Where your data is thin, this cell reads lower and the headline band stays more cautious, so a sparse picture never looks more certain than it is. A real weigh-in is what firms it up.
Hitched and solo read differently
The strip keeps its four cells whether or not a trailer is attached, but the Stability cell measures a different thing in each mode. When your tow vehicle and trailer are connected, the strip reads in hitched mode, and Stability is about the pair together: the balance on the tow ball, how the vehicle and trailer are matched, and where weight sits along the trailer. When you have a vehicle on its own, the strip reads in solo mode, and the Stability cell reads how the vehicle alone is handling instead — things such as how high the load sits, how it splits front to rear, and any weight up on the roof. The intuition is the same in both: weight in the wrong place is what unsettles a rig, and this cell is your early read on it.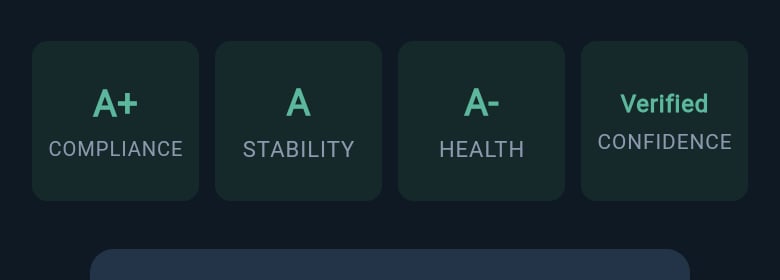
What happens when you tap a cell
Every cell is a tap into more detail, so a low or locked grade is never a dead end. This is the part that turns the strip from a verdict into a to-do list.- A cell with a grade opens the breakdown for that area, where you can see which individual checks are strong and which are pulling the cell down.
- A cell that is waiting on setup opens the path to add what is missing, such as storage zones or tyre dates, so the next action is right there.
- The Confidence cell opens its own breakdown, which explains what is holding your confidence back and the highest-impact things you can add next — usually a weigh-in.
Payload, loads, and capacity live elsewhere
The grade strip is four cells, and payload is not one of them. How much weight you have packed, and how much capacity you have left against your limits, live in your loads and capacity views rather than in the strip. This split is deliberate. The strip answers “which category is holding my score back”. Your loads and capacity views answer “how much have I packed and how much room is left”, with the per-item detail and the remaining headroom against each limit. To adjust what you are carrying, start in Add a load. To read where your weight sits against your limits, open the Compliance Snapshot.Score history from the sparkline
Under the score sits a small line chart, the sparkline. It plots your recent scores so you can see the shape of how your rig has been tracking — climbing as you weigh in and complete your setup, dipping when you pack heavier, settling as things stay steady. It is a trend at a glance, the direction of travel, not a verdict on any single change. The sparkline only appears once you have a couple of scores to join up, so a brand-new rig will not show one yet.