> ## Documentation Index
> Fetch the complete documentation index at: https://docs.loadmate.io/llms.txt
> Use this file to discover all available pages before exploring further.
# While you are on the trip
> The during-trip dashboard lets you log weight changes, fuel stops, and odometer updates as you tow, keeping your rig score and service reminders accurate.
When you set off, your planned trip turns into a calm towing dashboard for the days you are on the road. It is one place to record what changes, what you fill, and how far you have gone. That way nothing about the trip slips out of date, and you are not left piecing it together from memory afterwards.
Each entry takes only a few seconds. The changes you log stay separate from your everyday packing setup. When the trip ends, you decide whether to keep them. Along the way they keep your score, your fuel economy, and your service reminders accurate.
The dashboard and every sheet on this page open for everyone, so you can see exactly what they ask for. **Starting** a trip, **logging** a fuel stop, and **saving** a weight or odometer change need Pro, and demo data is read-only — you can look around a demo trip but not change it.
## When the trip becomes a dashboard
While a trip is still in the future, it is a plan: a route, your dates, and a pre-trip checklist counting down the things to sort before you leave. Once the trip is underway, loadmate switches that same screen over to the during-trip dashboard described below. The dashboard has a weight banner, three quick actions, and an **End trip** button you can reach at any time.
This is the moment loadmate begins recording real data about the journey, which is why it sits behind Pro. Before this point you are still planning. After it you are towing, and the during-trip tools are switched on.
### Why loadmate freezes a snapshot
The instant a trip begins, loadmate takes a **departure snapshot** — a frozen picture of your rig at the moment you left. It records your rig score, your total weight, how your rear axle and your coupling weight were sitting, and your odometer reading, exactly as they were at departure.
The snapshot card shows four plain figures:
| Card label | What it means |
| ---------------- | -------------------------------------------------------------------------------------------------------------------------------------------------------------------------------------------------------------------------------- |
| **Score** | Your rig score at the moment you set off. |
| **Total weight** | The whole rig's weight at departure. |
| **Rear axle** | How full your rear axle was, shown as a percentage of its limit. |
| **Tow ball** | How loaded the coupling was, shown as a percentage of its limit. The figure that carries your region's wording — tow ball mass, nose weight, or tongue weight — lives on your Rig screen; this card simply shows the percentage. |
This matters because it lets the questions at the end of the trip be specific rather than vague. Because loadmate knows your rear axle was near its limit when you left, it can ask "how did the back end feel?" instead of a generic "how was the trip?".
The departure snapshot is a frozen record, not a live reading. It captures how the rig was at the moment you left and does not keep updating as you drive. The weight banner just below it is the part that moves as you log changes.
## The towing dashboard
Once the trip is underway, the dashboard is the screen you will come back to. It is laid out top to bottom so the most useful things are easy to reach.
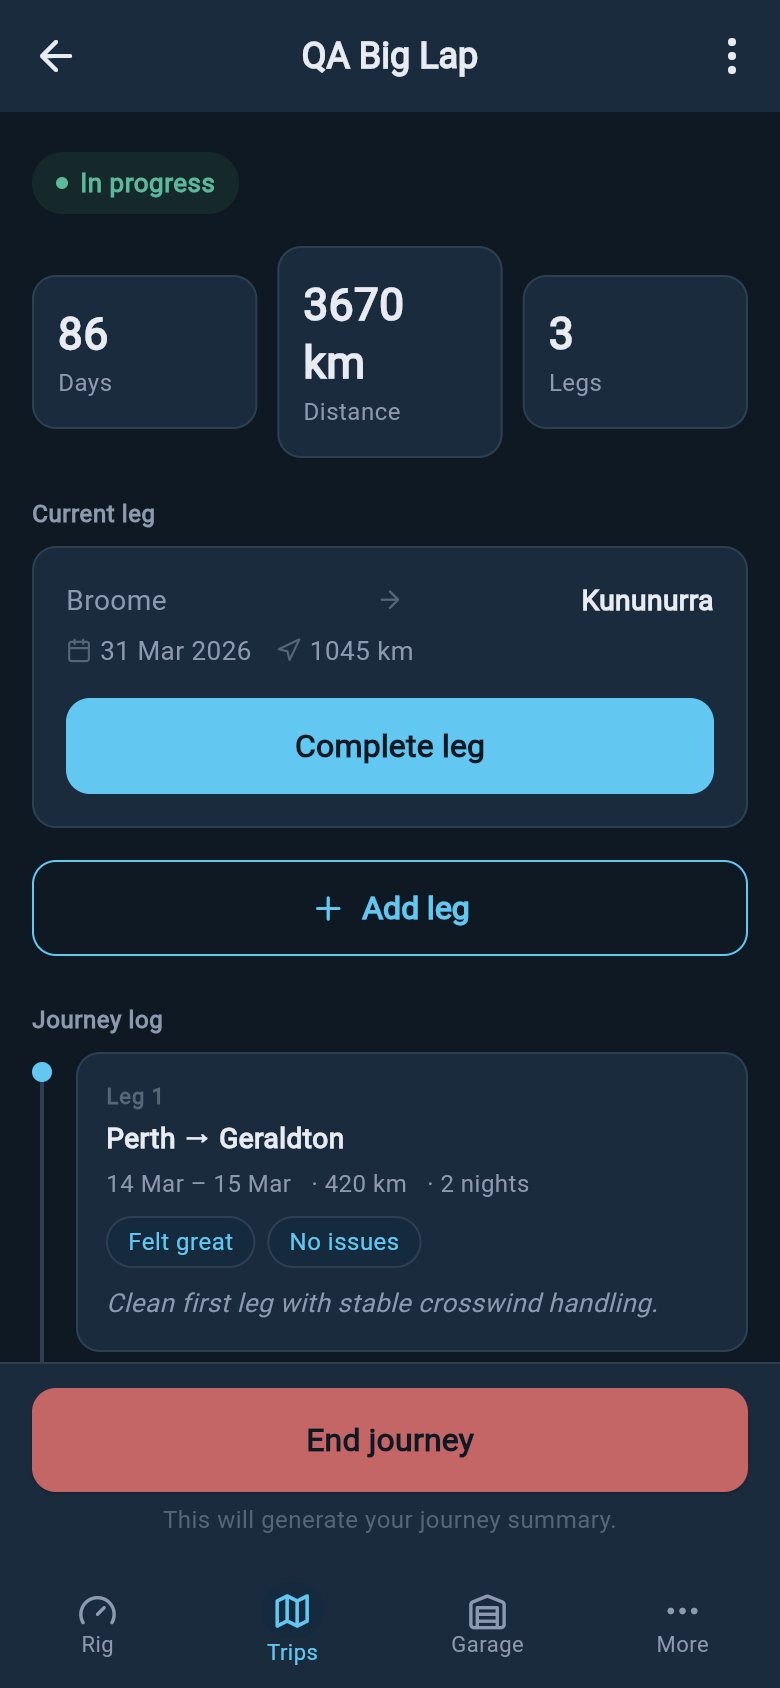 * A **Current effective weight** banner. "Effective weight" simply means your departure weight, plus or minus everything you have logged since. It shows the weight you left with, the running total of your changes, and where that leaves you now.
* A short readiness line, **{N} items noted at departure**, recording what your pre-trip checklist still had outstanding when you set off. It only appears if anything was outstanding, and you can tap it to expand the list of those items.
* Three quick actions for the things that change on the road.
* An **End trip** button pinned to the bottom of the screen the whole time you are towing, so it is always one tap away when you arrive.
The three quick actions are the heart of the dashboard. Each one is covered in its own section below.
Record gear, water, or people going on or off the rig.
Note a fill so loadmate can work out your fuel economy.
Keep your distance accurate for service and tyre timing.
The readiness line shows a plain count — for example **2 items noted at departure** — never a "2 of 5" fraction and never a progress bar. Tap it to expand the list of those items, and tap again to fold it away. It is a record of what was still outstanding when you left, so you can glance back at it without it nagging you while you drive.
## Log a Change (weight)
Things move on and off your rig during a trip. You fill the water tank at camp, pick up a grandchild for part of the way, buy a week of supplies in town, drop a heavy awning at a friend's place. **Log a Change** records each of these in seconds, so your score stays accurate without you having to rebuild your whole packing list.
Tap **Log a Change** on the dashboard. The sheet, titled **Log a Change**, opens from the bottom of the screen.
Under **Type**, choose what happened: **Filled water**, **Emptied water**, **Bought supplies**, **Removed gear**, **Picked up passenger**, **Dropped off passenger**, or **Other**. loadmate already knows whether each one adds or removes weight, so you never have to think about plus or minus signs.
Type the **Weight change** in your usual units. An estimate is fine — a full water tank, a bag of shopping, a person's rough weight. For a passenger, loadmate even offers a sensible starting figure you can adjust.
Under **Where on your rig?**, pick the storage zone the weight went into or came out of. Your own zones are grouped under **Vehicle zones** and **Trailer zones**. If you are not sure of the exact spot, choose **Not sure / General** — the change still counts toward your total weight.
Add an optional **Notes** line if you want a reminder of the detail, then tap **Save change**.
A change you log here is **temporary** — it belongs to this trip only and does not touch your saved loads. The running total on the weight banner updates straight away, and your rig score refreshes from it. When you reach the end of the trip, loadmate gathers all of these up and asks one simple question — **Keep changes** or **Revert** — so you decide then whether any of them should become part of your everyday setup. Until that moment, nothing about your normal packing has been altered. The full keep-or-revert step is covered in [Finish a trip and add feedback](/trips/finish-and-feedback).
A rough estimate is far better than nothing. The point of logging a change is to keep the picture roughly right while you tow — a full tank is about the same every time, and a week's groceries lands in the same ballpark trip after trip. You can always refine your real loads later from the Rig tab. Do not skip a heavy change just because the number is not exact.
## Log a fuel stop
Logging your fills is what lets loadmate show your real fuel economy for the trip — a genuinely useful number when you are budgeting a long tow.
Tap **Log fuel stop** on the dashboard. The sheet, titled **Log fuel stop**, opens. The date defaults to today; tap it to change it if you are logging an earlier fill.
Enter the amount in the **Litres** field. This reads as gallons if your region uses imperial units.
**Cost per litre** and **Total cost** are optional. Enter the price per unit and loadmate works out the total for you, or just type the total straight in.
Type the current **Odometer** reading. This one is needed — it is what ties the fill to a distance, and it also keeps your vehicle's odometer up to date for service and tyre reminders.
Leave **Full tank fill?** on when you brimmed the tank, or turn it off for a part-fill. This is the setting that makes an economy figure possible — see the note below.
**Station / Location** is optional. You can type any station or place name; when you are online it can suggest nearby places, but it works perfectly well on the text you type with no signal at all. Tap **Save** when you are done.
For the most accurate economy reading, fill to the same level every time — for example, click off at the first cut-out on every full fill. Consistent fills are what let loadmate compare like with like.
Fuel economy is worked out from the distance between two brimmed tanks and the fuel it took to top the second one back up. With only one full fill, there is nothing to measure against yet, so the dashboard's fuel summary will say it needs at least two full fills before it shows an economy number. Once you have logged that second full tank, your figure appears — in **L/100km**, or **MPG** if your region uses imperial units. Part-fills are still recorded and added up; they simply cannot anchor an economy reading on their own.
## Update odometer
The odometer is the heartbeat of your service and tyre reminders. **Update odometer** is a quick way to set the reading mid-trip without logging a fuel stop, so your distance-based service intervals and tyre-age countdowns stay accurate.
Tap **Update odometer** on the dashboard. A short prompt opens with two ways forward:
* **Enter actual** lets you type the real number off your dash under **Actual reading**, then tap **Accept** to save it.
* **Skip** leaves it for now. Tap it once and loadmate shows a gentle reminder that maintenance schedules depend on odometer accuracy; tap again to confirm you are skipping.
A new reading should be the same as, or higher than, the one loadmate already has. If you enter a lower number, loadmate treats it as older history rather than overwriting your current reading — so a slip of the finger will not wind your odometer backwards.
You only need to do this if you want to nudge the reading along between fills. Every fuel stop you log with an odometer reading already keeps it up to date. The end-of-trip prompt is the one that offers a ready-made projected figure to **Accept**; see [Finish a trip and add feedback](/trips/finish-and-feedback). For the full picture on odometer readings and what they drive, see [Keep your odometer current](/maintenance/keep-odometer-current).
## When you arrive
When you reach the end of the day's towing, tap **End trip** at the bottom of the dashboard. loadmate walks you through a short wind-down: it offers to set your final odometer, then — if you logged any weight changes — asks whether to **Keep changes** or **Revert** them, and finally invites you to note how the rig felt. None of that happens automatically behind your back; you stay in control of each step. The whole wind-down is covered in [Finish a trip and add feedback](/trips/finish-and-feedback).
Where every trip starts: destination, dates, and the rig you are towing.
The readiness checks that count down before you leave.
Ending a trip, the odometer and weight review, and how the rig felt.
**Try it now:** the next time you fill the water tank at camp, open your in-progress trip, tap **Log a Change**, choose **Filled water**, and watch the weight banner update. It takes about ten seconds, and your score stays accurate for the rest of the journey.
* A **Current effective weight** banner. "Effective weight" simply means your departure weight, plus or minus everything you have logged since. It shows the weight you left with, the running total of your changes, and where that leaves you now.
* A short readiness line, **{N} items noted at departure**, recording what your pre-trip checklist still had outstanding when you set off. It only appears if anything was outstanding, and you can tap it to expand the list of those items.
* Three quick actions for the things that change on the road.
* An **End trip** button pinned to the bottom of the screen the whole time you are towing, so it is always one tap away when you arrive.
The three quick actions are the heart of the dashboard. Each one is covered in its own section below.
Record gear, water, or people going on or off the rig.
Note a fill so loadmate can work out your fuel economy.
Keep your distance accurate for service and tyre timing.
The readiness line shows a plain count — for example **2 items noted at departure** — never a "2 of 5" fraction and never a progress bar. Tap it to expand the list of those items, and tap again to fold it away. It is a record of what was still outstanding when you left, so you can glance back at it without it nagging you while you drive.
## Log a Change (weight)
Things move on and off your rig during a trip. You fill the water tank at camp, pick up a grandchild for part of the way, buy a week of supplies in town, drop a heavy awning at a friend's place. **Log a Change** records each of these in seconds, so your score stays accurate without you having to rebuild your whole packing list.
Tap **Log a Change** on the dashboard. The sheet, titled **Log a Change**, opens from the bottom of the screen.
Under **Type**, choose what happened: **Filled water**, **Emptied water**, **Bought supplies**, **Removed gear**, **Picked up passenger**, **Dropped off passenger**, or **Other**. loadmate already knows whether each one adds or removes weight, so you never have to think about plus or minus signs.
Type the **Weight change** in your usual units. An estimate is fine — a full water tank, a bag of shopping, a person's rough weight. For a passenger, loadmate even offers a sensible starting figure you can adjust.
Under **Where on your rig?**, pick the storage zone the weight went into or came out of. Your own zones are grouped under **Vehicle zones** and **Trailer zones**. If you are not sure of the exact spot, choose **Not sure / General** — the change still counts toward your total weight.
Add an optional **Notes** line if you want a reminder of the detail, then tap **Save change**.
A change you log here is **temporary** — it belongs to this trip only and does not touch your saved loads. The running total on the weight banner updates straight away, and your rig score refreshes from it. When you reach the end of the trip, loadmate gathers all of these up and asks one simple question — **Keep changes** or **Revert** — so you decide then whether any of them should become part of your everyday setup. Until that moment, nothing about your normal packing has been altered. The full keep-or-revert step is covered in [Finish a trip and add feedback](/trips/finish-and-feedback).
A rough estimate is far better than nothing. The point of logging a change is to keep the picture roughly right while you tow — a full tank is about the same every time, and a week's groceries lands in the same ballpark trip after trip. You can always refine your real loads later from the Rig tab. Do not skip a heavy change just because the number is not exact.
## Log a fuel stop
Logging your fills is what lets loadmate show your real fuel economy for the trip — a genuinely useful number when you are budgeting a long tow.
Tap **Log fuel stop** on the dashboard. The sheet, titled **Log fuel stop**, opens. The date defaults to today; tap it to change it if you are logging an earlier fill.
Enter the amount in the **Litres** field. This reads as gallons if your region uses imperial units.
**Cost per litre** and **Total cost** are optional. Enter the price per unit and loadmate works out the total for you, or just type the total straight in.
Type the current **Odometer** reading. This one is needed — it is what ties the fill to a distance, and it also keeps your vehicle's odometer up to date for service and tyre reminders.
Leave **Full tank fill?** on when you brimmed the tank, or turn it off for a part-fill. This is the setting that makes an economy figure possible — see the note below.
**Station / Location** is optional. You can type any station or place name; when you are online it can suggest nearby places, but it works perfectly well on the text you type with no signal at all. Tap **Save** when you are done.
For the most accurate economy reading, fill to the same level every time — for example, click off at the first cut-out on every full fill. Consistent fills are what let loadmate compare like with like.
Fuel economy is worked out from the distance between two brimmed tanks and the fuel it took to top the second one back up. With only one full fill, there is nothing to measure against yet, so the dashboard's fuel summary will say it needs at least two full fills before it shows an economy number. Once you have logged that second full tank, your figure appears — in **L/100km**, or **MPG** if your region uses imperial units. Part-fills are still recorded and added up; they simply cannot anchor an economy reading on their own.
## Update odometer
The odometer is the heartbeat of your service and tyre reminders. **Update odometer** is a quick way to set the reading mid-trip without logging a fuel stop, so your distance-based service intervals and tyre-age countdowns stay accurate.
Tap **Update odometer** on the dashboard. A short prompt opens with two ways forward:
* **Enter actual** lets you type the real number off your dash under **Actual reading**, then tap **Accept** to save it.
* **Skip** leaves it for now. Tap it once and loadmate shows a gentle reminder that maintenance schedules depend on odometer accuracy; tap again to confirm you are skipping.
A new reading should be the same as, or higher than, the one loadmate already has. If you enter a lower number, loadmate treats it as older history rather than overwriting your current reading — so a slip of the finger will not wind your odometer backwards.
You only need to do this if you want to nudge the reading along between fills. Every fuel stop you log with an odometer reading already keeps it up to date. The end-of-trip prompt is the one that offers a ready-made projected figure to **Accept**; see [Finish a trip and add feedback](/trips/finish-and-feedback). For the full picture on odometer readings and what they drive, see [Keep your odometer current](/maintenance/keep-odometer-current).
## When you arrive
When you reach the end of the day's towing, tap **End trip** at the bottom of the dashboard. loadmate walks you through a short wind-down: it offers to set your final odometer, then — if you logged any weight changes — asks whether to **Keep changes** or **Revert** them, and finally invites you to note how the rig felt. None of that happens automatically behind your back; you stay in control of each step. The whole wind-down is covered in [Finish a trip and add feedback](/trips/finish-and-feedback).
Where every trip starts: destination, dates, and the rig you are towing.
The readiness checks that count down before you leave.
Ending a trip, the odometer and weight review, and how the rig felt.
**Try it now:** the next time you fill the water tank at camp, open your in-progress trip, tap **Log a Change**, choose **Filled water**, and watch the weight banner update. It takes about ten seconds, and your score stays accurate for the rest of the journey.